
Turntable Troubleshooting: How to Fix Humming, Skipping & Noise
Turntable Troubleshooting: How to Fix Humming, Skipping & Noise
Hum, skipping, channel drop — I’ve dealt with all of it. Most turntable problems have simple causes, but finding the right fix requires some methodical testing. This guide documents the issues I’ve actually run into and exactly how I solved them, including the grounding fixes nobody tells you about.
Turntable troubleshooting involves systematically diagnosing playback skipping, electrical hum, speed drift, and channel dropouts by checking tracking force calibration, grounding connections, cable shielding, and record flatness. Identifying the root physical or electrical cause restores clean audio playback and prevents vinyl wear.
Analog audio equipment occasionally encounters mechanical or electrical hiccups. Because a turntable relies on physical mechanical contact and delicate millivolt signals, even minor issues like a loose ground wire, a dusty needle, or an unlevel platter can disrupt your music. Here is how to diagnose and resolve every common turntable problem quickly and safely.
Why Does My Record Skip?
Record skipping occurs when the stylus loses contact with the groove walls, caused by debris accumulation, vinyl warps, or incorrect tonearm calibration.
Dust/Debris Causes
Compressed dust clumps and microscopic debris trapped deep inside record grooves act as physical ramps, launching the stylus tip upward out of the groove channel:
- Stylus Dust Dustball: A clump of static dust gathered around the diamond tip prevents the stylus from seating inside the groove. Gently sweep the needle clean from back to front using a dry stylus brush.
- Embedded Groove Debris: Hardened dirt or dried liquid spots inside the groove cause repeating clicks or needle jumps. Deep wet clean the record to dissolve trapped debris.
- Solution: Perform a wet washing cycle using our step-by-step methods in our record cleaning and storage guide.
Warping Causes
Severe physical warps force the tonearm to bounce vertically or drift horizontally beyond its tracking limits:
- Edge Warps: Sharp, localized bends along the record rim cause the tonearm to jump violently as the warp passes beneath the needle.
- Dish Warps: A bowl-shaped warp where the record lifts off the platter on one side, reducing stylus contact pressure.
- Floorboard Vibration Skipping: Walking across springy, flexible wooden floorboards transmits low-frequency shockwaves through furniture into the tonearm assembly, causing the needle to bounce across tracks.
- Solution: Use a heavy record weight to clamp dish warps flat against the platter mat, install a dedicated wall-mounted turntable shelf anchored to wall studs, or perform a controlled glass flattening cycle.
Tracking Force/Setup Causes
Incorrect tonearm calibration is the single most common cause of record skipping on pristine vinyl:
- Insufficient Tracking Force (VTF): If your tracking force is set too light (below the cartridge manufacturer’s minimum recommendation), the stylus lacks downward mass to stay anchored inside dynamic bass grooves.
- Incorrect Anti-Skate Setting: Excessive or insufficient anti-skate pulls the tonearm sideways, forcing the needle to ride up and skip over the groove wall.
- Cueing Lever Height Misadjustment: If the tonearm cueing bridge does not drop low enough, the tonearm tube rests on the cueing platform, preventing full stylus groove engagement.
- Tonearm Bearing Binding: Dirt, hardened grease, or tight gimbal bearings inside the tonearm pivot restrict smooth horizontal movement, causing the needle to stick and repeat the same groove loop.
- Unlevel Plinth: A tilted turntable base causes gravity to pull the tonearm laterally across the record surface.
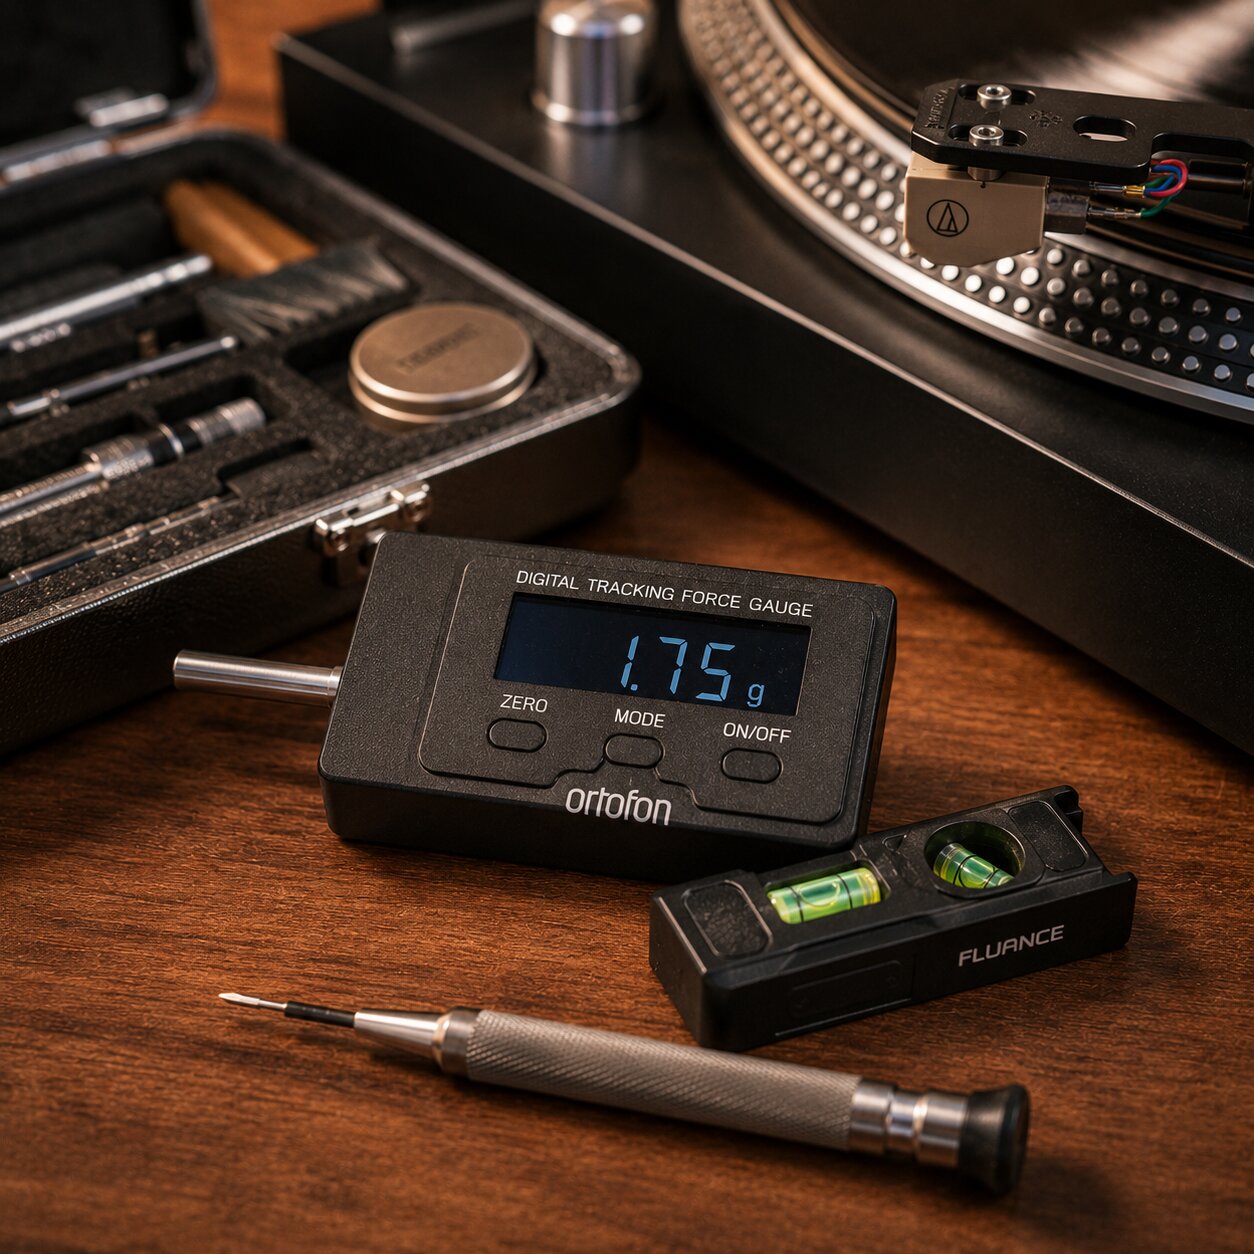
- Solution: Level the turntable base, float the tonearm to zero, adjust cueing bridge height, and set vertical tracking force to the recommended weight using a digital scale. For step-by-step calibration instructions, review our turntable setup and calibration guide.
Why Does My Turntable Hum or Buzz?
Electrical hum and buzz are caused by ungrounded component chassis, ground loops, or unshielded audio cables picking up electromagnetic interference.
Grounding Explained
Because a phono cartridge outputs a delicate millivolt signal, it is extremely vulnerable to 60Hz AC electrical interference generated by household wiring and power transformers.
- The Function of the Ground Wire: The green or spade-lug grounding wire attached to your turntable connects the metallic tonearm tube, cartridge body, and motor chassis directly to the ground bus of your phono preamp or receiver.
- The Missing Ground Symptom: If the ground wire is disconnected, loose, or oxidized, a loud, low-frequency 60Hz hum will roar through your speakers whenever the phono input is selected.
- Cartridge Lead Polarity: Reversed lead clips on the back of the phono cartridge (connecting a ground wire to a signal pin) introduce severe buzzing and channel phase cancellation.
- Fix: Connect the turntable ground wire spade lug tightly to the thumb-screw grounding post on your phono preamp or receiver. Ensure all four color-coded cartridge lead clips match their corresponding pin colors. I recommend using the KabelDirekt Grounding Wire / RCA Cables ($14, features high-purity oxygen-free copper with an integrated spade ground wire, eliminates 60Hz hum, though the cable jacket is relatively stiff).
Cable and Interference Issues
If your ground wire is securely attached but hum or buzz persists, inspect your cable routing and nearby electronics:
- Unshielded RCA Interconnects: Cheap, unshielded audio cables act as radio antennas, picking up electromagnetic interference (EMI) from Wi-Fi routers, power strips, and TV power supplies. Replace cheap cables with double-shielded RCA interconnects.
- Proximity to Power Transformers: Placing your phono preamp or turntable directly on top of a large power amplifier or Wi-Fi router induces magnetic hum into the phono cartridge. Unshielded Moving Grate or Moving Iron cartridges are particularly susceptible to motor hum fields. Move the turntable and preamp at least 12 inches away from power supplies.
- Ground Loop Hum: A ground loop occurs when your turntable, preamp, and receiver are plugged into different wall outlets with slightly different ground potentials. Plug all audio components into the same surge-protected power strip to ensure a unified ground reference.
If ground loops persist across complex setups, consider the iFi GND Defender Ground Loop Eliminator ($99, intelligently breaks ground loop hum without compromising safety ground wires, though higher cost). To route your signal chain cleanly, consult our vinyl signal chain guide.
How to Fix a Warped Record Safely
Record warps occur when vinyl is exposed to excessive heat, direct sunlight, or uneven pressure during horizontal storage.
To flatten a warped record safely without ruining its playable grooves:
1. Perform a thorough wet wash: Remove all surface dust, as pressing dirt between glass plates will permanently embed grit into vinyl groove walls.
2. Sandwich between polished glass plates: Place the clean record flat between two clean 12×12-inch heavy glass plates or dedicated vinyl flattening discs.
3. Apply flat, uniform weight: Place 10 to 15 pounds of flat weight (such as heavy reference books) on top of the glass plate.
4. Choose a flattening approach:
- Room Temperature Flattening (Safest): Leave the weighted assembly at stable room temperature for 2 to 3 weeks.
- Controlled Heat Flattening: Place the weighted glass assembly inside a low-temperature oven set strictly at 130°F to 135°F (54°C to 57°C) for 30 minutes, then turn off the oven and let it cool completely inside for 4 hours. Crucial Warning: Never exceed 140°F, or the vinyl plastic matrix will melt and destroy audio grooves.
- Commercial Flattening Machines: Dedicated electric flatteners (like the Vinyl Flat or Orb DF-01i) utilize thermostatically controlled heating pouches to warm records evenly before controlled cooling.
For details on how warps impact record visual grades and market prices, read our record grading guide.
General Diagnostic Checklist
Use this systematic diagnostic table to isolate symptoms, identify root causes, and apply immediate fixes.
| Playback Symptom | Primary Probable Cause | Recommended Immediate Diagnostic Fix |
|---|---|---|
| Skipping / Needle Jumping | Dustball on stylus, light tracking force, unlevel plinth. | Brush stylus, re-calibrate tracking force using digital scale, level platter. |
| Loud 60Hz Low Hum | Disconnected or loose turntable ground wire. | Tighten spade lug on preamp ground post; check headshell lead clips. |
| Buzzing / High Noise | EMI interference, cheap unshielded RCA cables. | Move preamp away from Wi-Fi router; upgrade to double-shielded RCA cables. |
| Whisper Quiet Audio | Missing phono preamp in signal chain. | Switch turntable to “LINE” mode or install an external phono preamp. |
| Harsh Sibilant Distortion | Worn stylus, incorrect cartridge alignment, light VTF. | Re-align cartridge using protractor; increase tracking force; inspect stylus tip. |
| One Channel Audio Silent | Loose headshell wire, dirty RCA jack, cartridge alignment. | Re-seat color-coded headshell lead clips; clean RCA jacks with contact cleaner. |
| Pitch Wavering (Wow/Flutter) | Worn drive belt, oily pulley, off-center pressing. | Clean pulley with isopropyl alcohol; replace stretched rubber drive belt. |
| Acoustic Feedback / Howling | Turntable resting on same surface as speakers. | Move speakers to separate stands; install sorbothane isolation feet under turntable. |
Step-by-Step Diagnostic Sequence
When troubleshooting an unknown audio issue, follow this logical elimination process:
1. Test a known good reference record: Verify whether the problem occurs on all records or just one specific damaged disc.
2. Check physical mechanics first: Inspect stylus cleanliness, verify tracking force with a gauge, and check platter level.
3. Verify electrical ground and connections: Ensure ground wire is connected, RCA plugs are fully inserted, and cartridge lead clips are tight.
4. Isolate component links: Bypass external preamps or switch audio inputs to isolate whether the fault lies in the turntable, preamp, cabling, or amplifier.
Frequently Asked Questions

Chris Pitcher
Independent vinyl collector helping music lovers discover records worth owning through reviews, recommendations and buying guides.