
Record Cleaning & Storage: How I Keep My Vinyl Noise-Free
Record Cleaning & Storage: How I Keep My Vinyl Noise-Free
The single biggest improvement I made to my vinyl sound was cleaning records properly. I went from a basic brush to a Spin-Clean to eventually an ultrasonic cleaner — and the difference at each stage was real. This guide covers my full routine, from dry brushing between plays to deep cleaning thrift finds.
Record cleaning and storage requires wet cleaning deeply embedded dirt, using dry carbon fiber brush (Boundless Audio Carbon Fiber Record Brush)es before every play, housing vinyl in archival poly-lined inner sleeves, and storing records upright on sturdy shelving in climate-controlled environments. Proper maintenance eliminates surface noise, prevents static build-up, and protects records from permanent groove wear.
Physical maintenance is the single most important factor determining how clean your records sound and how long they last. Even pristine, newly pressed records arrive from pressing plants coated in microscopic vinyl mold-release compound and paper dust. Here is your definitive guide to wet and dry cleaning methods, cleaning machines, stylus care, inner sleeve selection, and safe long-term vinyl storage.
Wet Cleaning vs. Dry Cleaning
Dry cleaning removes loose daily surface dust before playback, while wet cleaning dissolves grease, fingerprint oils, and deep groove grime.
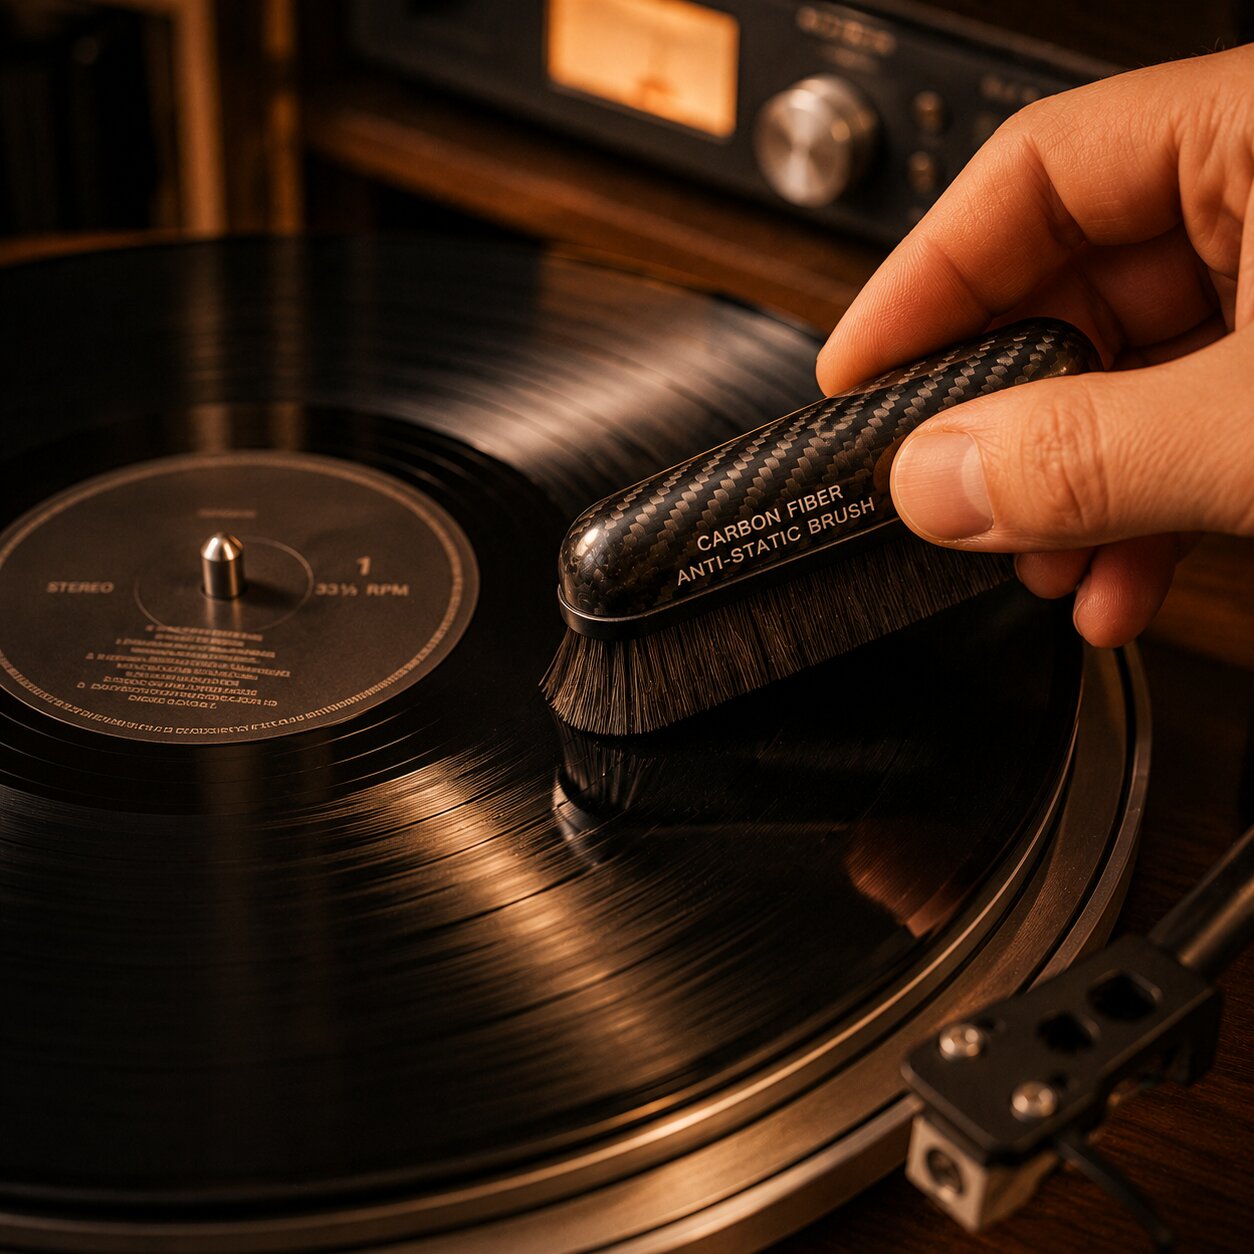
- Dry Cleaning (Daily Maintenance): Use a specialized anti-static carbon fiber brush (Boundless Audio Carbon Fiber Record Brush) before every spin. Hold the brush lightly against the rotating record face for two full revolutions, then angle it toward the outer rim to lift surface dust away. Dry brushing prevents surface dust from being pushed into the groove walls by the stylus. I use the Boundless Audio Carbon Fiber Vinyl Brush ($16, conductive carbon fiber bristles dissipate static charges, though incapable of removing liquid stains or grease).
- Wet Cleaning (Deep Restoration): Uses an archival cleaning fluid (distilled water mixed with non-ionic surfactant) to break down grease, mold, and hardened dust trapped deep inside the groove valley. Wet cleaning is mandatory for all newly acquired secondhand records.
- Rinsing and Drying Cycles: Always follow wet washing with a pure distilled water rinse to eliminate suspended dirt and cleaner residue. Dry records on a lint-free rack using ultra-soft microfiber cloths, or let them air-dry in a dust-free room before sleeving.
DIY Solutions: What’s Safe and What Damages Vinyl
Making your own vinyl cleaning solution requires strict adherence to safe chemical ratios:
- Safe DIY Recipe: Mix 4 parts pure distilled water, 1 part 99% isopropyl alcohol, and 2 drops of a non-ionic wetting agent (such as Kodak Photo-Flo or Triton X-100) per gallon. The surfactant breaks water surface tension, allowing the solution to penetrate deep into narrow micro-grooves.
- Dangerous Chemical Ingredients: Never use tap water (minerals deposit white chalk inside grooves), household glass cleaners (ammonia stripped vinyl plasticizers), dish soap (leaves gummy soap scum behind), or concentrated alcohol (strips vinyl chemical binders, causing brittle groove walls).
Are Record Cleaning Machines Worth It?
Automating the record cleaning process with specialized machines dramatically speeds up cleaning time while providing superior dirt extraction.
| Cleaning Machine Type | Representative Product Example | Cleaning Mechanism | Primary Advantage | Trade-Off / Consideration |
|---|---|---|---|---|
| Manual Washing Basin | Spin-Clean Record Washer MkII | Submerges disc in bath; dual velvet brushes scrub both sides. | Inexpensive ($79); washes both sides simultaneously. | Manual towel drying required; fluid needs frequent filtering. |
| Vacuum RCM | Record Doctor VI Vacuum Cleaner | Applies fluid manually; high-power vacuum tube sucks fluid dry. | Powerful suction removes fluid and suspended dirt completely ($329). | Loud vacuum motor noise; requires manual disc rotation. |
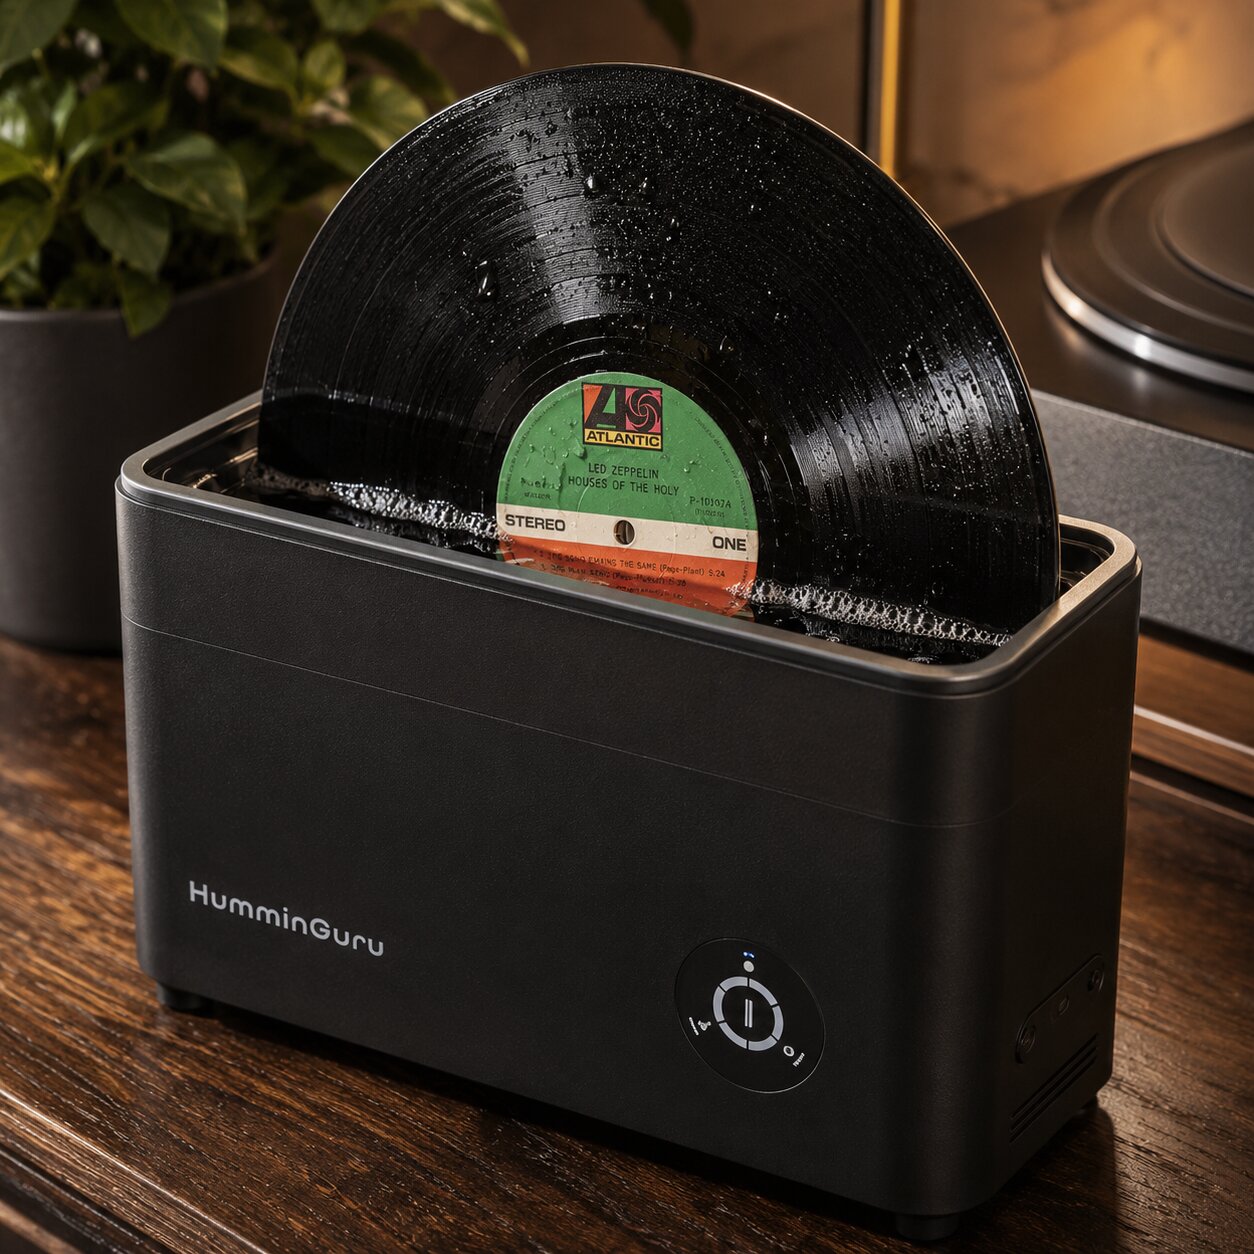
| Ultrasonic RCM | HumminGuru Ultrasonic Cleaner | 40kHz sound waves create micro-cavitation bubbles in water bath. | Hands-free automated wash and fan dry ($499); deepest clean. | Higher initial cost; longer cleaning cycle time per disc. |
Machine Tier Recommendations
- Budget Tier ($79): The Spin-Clean Record Washer (Spin-Clean Record Washer MKII) MkII → ($79) is the essential starter washer. You rotate the record manually through a bath of distilled water and cleaning fluid while dual bath brushes trap dirt at the bottom. Trade-off: Microfiber towel hand drying is time-consuming and can introduce light static.
- Mid-Tier ($329): The Record Doctor VI Vacuum Cleaning Machine ($329) features a high-powered vacuum motor that sucks fluid and dissolved dirt directly out of the grooves, leaving the record bone dry in seconds. Replace the velvet vacuum strip lips every 200 records to prevent cross-contamination. Trade-off: The vacuum motor operates at loud decibel levels similar to a shop vacuum.
- Audiophile Tier ($499): The HumminGuru (HumminGuru Ultrasonic Vinyl Cleaner) Ultrasonic Record Cleaner → ($499) utilizes 40kHz ultrasonic cavitation bubbles that implode inside microscopic groove channels, stripping microscopic debris without physical brush contact before an internal fan dries the disc. Monitor water bath temperature, as ultrasonic transducers warm water during extended cleaning sessions. Trade-off: Takes 7 to 10 minutes per record cycle.
Stylus Cleaning (Different From Record Cleaning)
A dirty stylus collects baked-on vinyl dust and oils, causing mistracking, severe sibilance, and accelerated groove damage.
Cleaning your stylus requires gentle, dedicated tools:
- Dry Stylus Brushing: Before every listening session, use a dense, short-bristle stylus brush. Crucial Rule: Always sweep the brush gently from the back of the cartridge forward toward the stylus tip. Sweeping side-to-side or backward will bend or snap the delicate cantilever tube.
- Polymer Gel Dipping: Polymer gel dipping pads offer safe, non-contact cleaning. Gently lower the tonearm using the cueing lever until the diamond tip sinks into the gel pad, then lift it immediately. The tacky gel grabs baked-on debris without applying lateral strain to the cantilever suspension. I recommend the Hudson Hi-Fi Stylus Cleaning Gel ($12, reusable polymer gel pad, cleans without cantilever strain, though requiring cold water rinsing when dusty).
- Liquid Stylus Cleaners: Use liquid stylus cleaning fluids sparingly (once every 50 playing hours). Excessive liquid can travel up the cantilever tube via capillary action and dissolve internal suspension damping rubbers.
For a complete guide on inspecting stylus tip wear, consult our cartridges and styli guide.
How to Store Vinyl
Proper vinyl storage prevents record warps, sleeve split seams, ring wear, and environmental jacket damage.
Humidity and Temperature
Vinyl records are highly sensitive to thermal and atmospheric conditions:
- Temperature Control: Store vinyl in climate-controlled living areas maintained between 65°F and 72°F (18°C to 22°C). Never store records in uninsulated attics, garages, or sunny sunrooms where temperatures exceed 90°F (32°C), as heat causes severe dish warps and edge warps.
- Relative Humidity: Maintain room humidity levels between 35% and 50%. High humidity above 65% fosters mold, mildew, and paper foxing inside album jackets, while ultra-dry air below 30% generates intense static electricity that attracts floating room dust. In damp basements, run a dedicated dehumidifier or place silica gel packs near storage crates.
- Sunlight Protection: Keep records completely out of direct sunlight, as UV radiation fades jacket artwork dyes and creates localized heat zones that warp vinyl discs inside sleeves.
Sleeves and Shelving
Vertical alignment and structural support are mandatory for long-term collection storage:
- Store Records 100% Upright: Always stack records vertically side-by-side like library books. Never stack records horizontally on top of each other in flat piles, as the immense cumulative weight flattens grooves and presses heavy circular ring wear into jacket artwork.
- Avoid Slanting: Use bookends or solid cube dividers every 6 to 8 inches to keep vertical shelves snug. Records leaning at heavy angles under physical tension develop permanent cupping and dish warps over time.
- Sturdy Shelving Units: Vinyl records weigh approximately 35 to 50 pounds per filled shelf foot. Ensure your shelving units utilize thick, supported wood or metal composite.
The industry gold standard is the IKEA Kallax 2×2 / 4×4 Shelving Unit ($45–$119, cube compartments perfectly match 12-inch jacket dimensions, though mandatory wall-anchoring brackets must be installed for safety).
Inner Sleeve Types Explained (Paper, Poly-Lined, Rice Paper)
Replacing cheap paper inner sleeves with archival poly sleeves prevents paper scuffs and static buildup.
| Inner Sleeve Material | Static Protection | Scratch / Scuff Protection | Long-Term Preservation | Price per 50-Pack |
|---|---|---|---|---|
| Standard Rough Paper | Poor; generates high static. | Poor; paper fibers drag and scuff vinyl. | Acidic paper degrades over decades. | Free (Standard OEM) |
| Poly-Lined Paper | Moderate anti-static protection. | Good; smooth inner poly layer protects disc. | Good paper exterior stiffness. | $15 – $18 |
| 3-Ply HDPE Rice Paper | Exceptional; anti-static HDPE film. | Maximum; ultra-smooth archival contact. | Archival museum-grade longevity. | $20 – $24 |
- Rough Paper Sleeves: Original paper inner sleeves shed abrasive paper dust and drag against vinyl surfaces every time a record is extracted, creating cosmetic paper scuffs. dry paper generates static charges that cling to floating dust.
- Poly-Lined Paper Sleeves: Heavy paper sleeves lined internally with smooth High-Density Polyethylene (HDPE) film. Combines paper structural stiffness with protective anti-static inner lining.
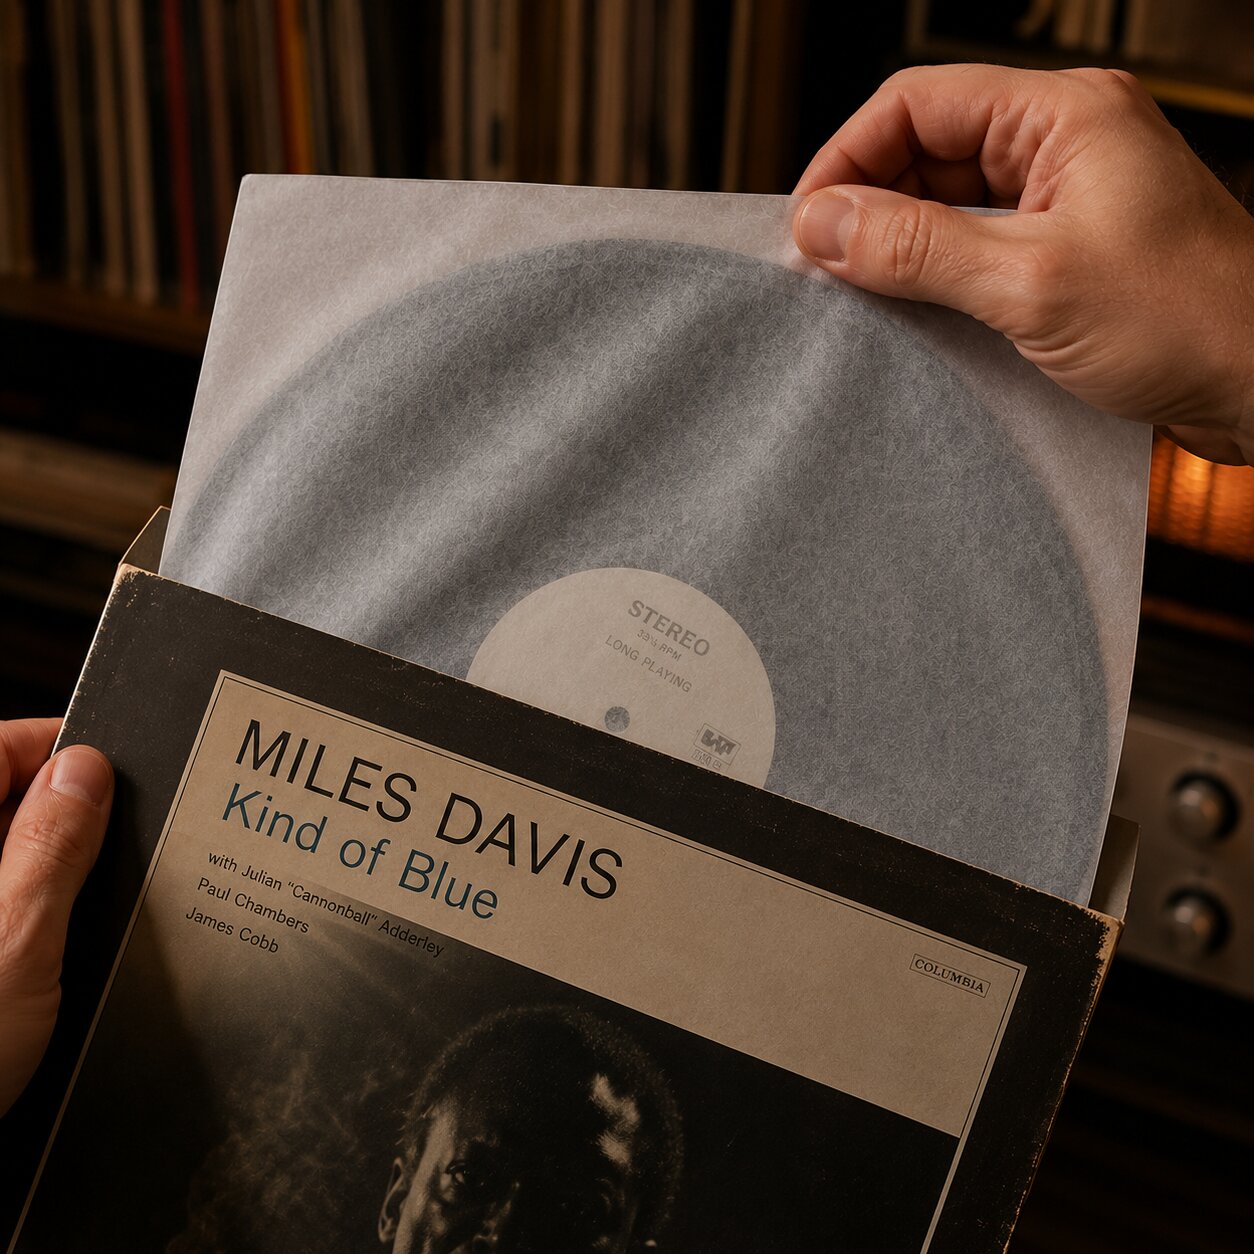
- 3-Ply HDPE Archival Rice Paper Sleeves: The ultimate archival inner sleeve. Manufactured from anti-static High-Density Polyethylene sandwiched around a paper core.
For premium archival protection, I recommend Mobile Fidelity Original Master Sleeves ($22 for a 50-pack, museum-grade anti-static HDPE protects against scratches and static, though the flexible material can fold over if stuffed into tight jackets).
Outer Poly Sleeve Options
To protect outer album jackets from shelf friction, ring wear, and corner rubbing, slide every album inside a protective outer sleeve:
- 3 Mil Polyethylene Sleeves: Flexible, economical, and durable protection against shelf scuffs. I use Hudson Hi-Fi 3 Mil Outer Vinyl Sleeves ($19 for a 100-pack, heavy-duty crystal clear protection, though adding slight shelf width).
- Cast Polypropylene Sleeves: Ultra-clear, rigid sleeves that showcase vibrant album artwork without haze, though more prone to edge tearing if forced over thick double LPs.
- Mylar / Archival Sleeves: Ultra-dense archival sleeves used by museums and high-end collectors for maximum clarity and UV protection.
Fixing Warped, Dusty or Noisy Records
Minor warps, heavy static, and persistent noise can be remediated using specific restoration techniques.
The Warped Record Flattening Method
While deep heat gouges are permanent, mild edge warps and dish warps can often be flattened using controlled weight and gentle heat:
1. Clean the record completely: Ensure zero dust or grit sits on the record surface before applying pressure, as pressed dirt will embed into the vinyl.
2. Place between two heavy glass sheets: Place the record between two clean, smooth 12×12-inch glass plates or specialized vinyl flattening rings.
3. Apply gentle, even weight: Place 10 to 15 pounds of flat weight (like heavy art books) evenly over the top glass plate.
4. Controlled temperature option: Place the glass assembly in a low-temperature oven set strictly between 130°F and 135°F (54°C to 57°C) for 30 minutes, then turn off the oven and let it cool completely inside for 4 hours. Warning: Exceeding 140°F will melt grooves and destroy the record.
5. Slow room-temperature option (Safest): Leave the weighted glass assembly at standard room temperature for 2 to 3 weeks. This slow method poses zero risk of heat damage.
To understand how record condition affects financial resale values, read our buying and selling vinyl guide.
Frequently Asked Questions

Chris Pitcher
Independent vinyl collector helping music lovers discover records worth owning through reviews, recommendations and buying guides.