
How to Digitize Vinyl Records: High-Res FLAC & MP3 Ripping
How to Digitize Vinyl Records: High-Res FLAC & MP3 Ripping
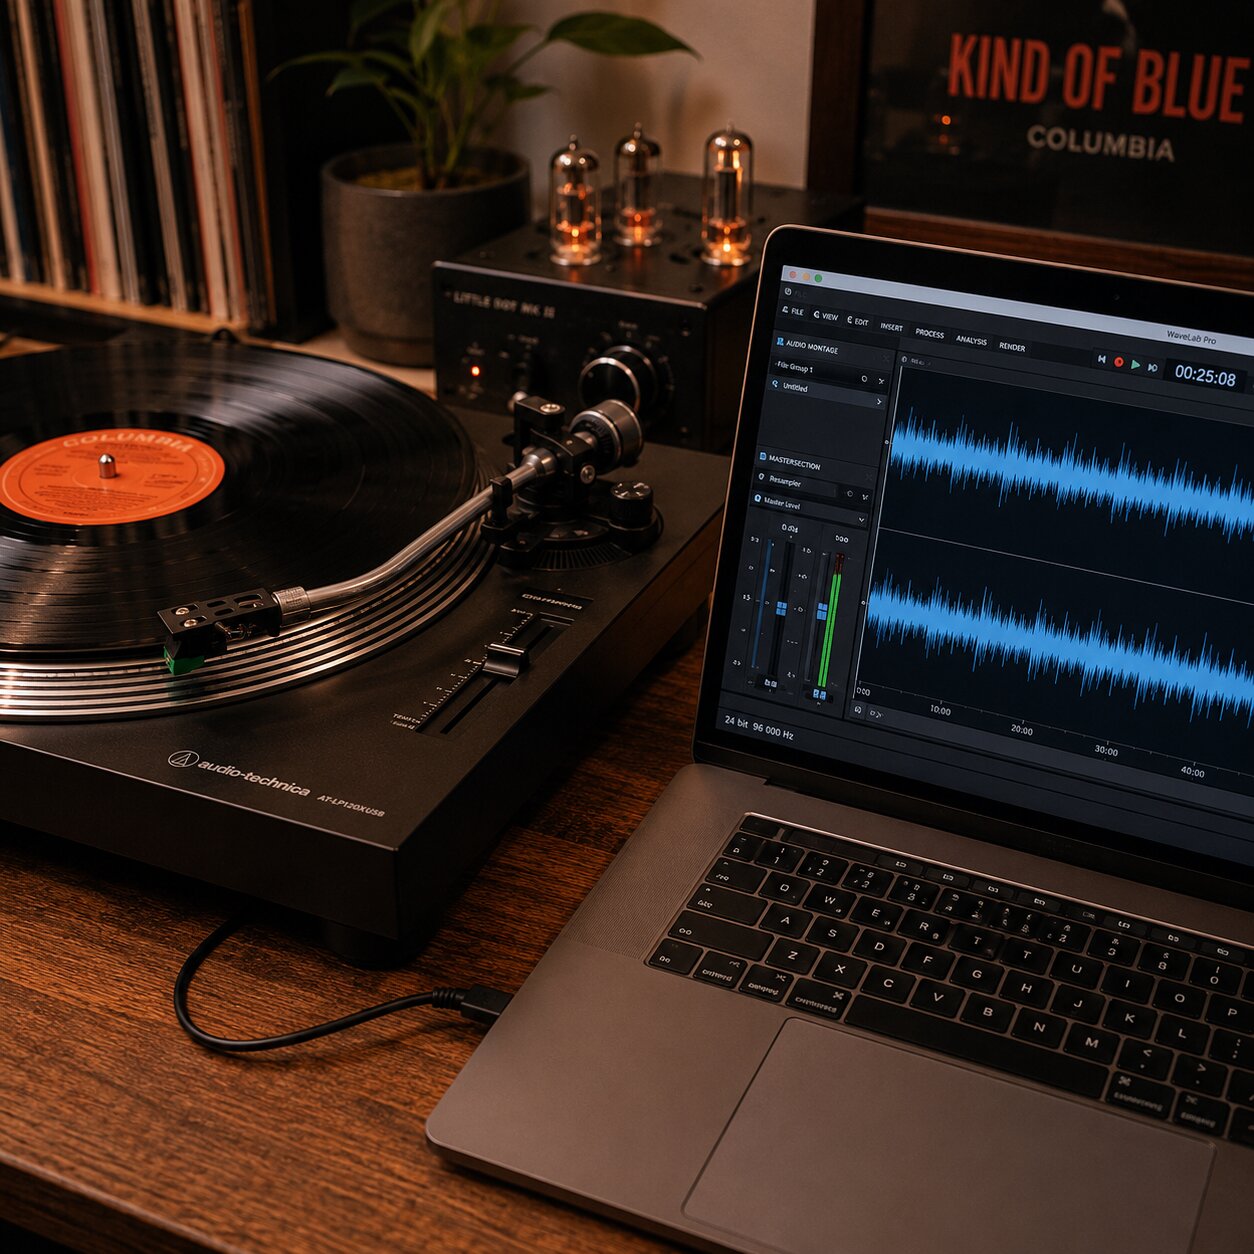
I started digitising records when I wanted to listen to a few rare pressings on headphones during a commute. That turned into a proper archiving workflow. This guide covers how I capture 24-bit audio, clean it up in Audacity, and store it in a way that’ll outlast any streaming platform.
Digitizing a vinyl collection involves recording analog playback into digital audio files using USB turntables or dedicated audio interfaces, configured at 24-bit/96kHz resolution, and edited with recording software like Audacity. Archiving vinyl digitally preserves rare recordings, enables mobile listening, and protects fragile analog pressings from physical playback wear.
Digitizing vinyl is how I preserve rare, out-of-print 45s, private-press jazz, and unreleased B-sides that aren’t available on streaming platforms like Spotify or Apple Music. While digitizing takes time, creating high-resolution digital master files ensures your unique pressings remain accessible anywhere. Here is how to select equipment, configure recording software, and clean up digital files step by step.
Why and When to Digitize
Digitizing vinyl is a deliberate archiving project rather than a replacement for casual analog listening. You should consider digitizing your records under these specific circumstances:
- Preserving rare and out-of-print releases: Many obscure 1960s soul 45s, local indie releases, regional garage rock, and private-press jazz bootlegs were never transferred to digital master tapes or uploaded to streaming services.
- Mobile listening without format compromises: Digitizing your unique analog pressings allows you to enjoy the distinct mastering character of an original “RL” LP or Japanese pressing on mobile DACs, digital audio players (DAPs), and high-resolution car audio systems.
- Bypassing dynamic compression on streaming platforms: Modern streaming remasters are frequently subjected to aggressive dynamic range compression (the “Loudness War”). Digitizing an original 1970s analog pressing captures uncompressed dynamic peaks and warm frequency balance.
- Protecting fragile or valuable vinyl: Repeatedly playing a rare $500 original pressing wears down microscopic groove walls. Digitizing the album once allows you to archive the physical disc safely on your shelf while playing pristine digital FLAC files daily.
- Creating digital backups of worn or damaged records: If a record suffers from localized scratches or edge warps, digitizing allows you to repair the audio waveform digitally, producing a clean listening file that plays smoothly.
Best USB Turntables for Digitizing
Using a turntable with an integrated USB Analog-to-Digital Converter (ADC) provides a simple plug-and-play digitizing workflow.
- Audio-Technica AT-LP120XUSB ($349): The gold standard USB turntable for archiving vinyl. Features a direct-drive motor for quartz-locked pitch stability, a built-in USB audio output, and an upgraded AT-VM95E elliptical cartridge that tracks complex high-frequency passages cleanly. Trade-off: The internal USB preamp is fixed at 16-bit/48kHz ADC resolution.
- Audio-Technica AT-LP60X ($149): An entry-level fully automatic USB turntable suitable for casual digitizing. Connects directly to laptops via USB. Trade-off: Fixed tracking force and non-upgradeable conical stylus profile reduce high-frequency resolution on complex inner tracks.
- Pro-Ject Debut RecordMaster II ($499): An audiophile-grade belt-drive turntable featuring a precision carbon-fiber tonearm, an Ortofon OM10 cartridge, and an integrated high-resolution USB output capable of capturing clean 16-bit/48kHz digital transfers. Trade-off: Requires manual belt speed changes for 45 RPM records.
Using an Audio Interface with a Component Turntable
For higher archiving fidelity, route a calibrated component turntable through an external phono preamp and a dedicated USB audio interface:
- Focusrite Scarlett 2i2 ($199): Connects to your phono preamp line outputs, delivering ultra-quiet 24-bit/192kHz analog-to-digital conversion with precise LED gain halo meters that prevent digital clipping distortion. Trade-off: Requires a standalone phono preamp in your signal chain. To set up matching amplification, review our vinyl signal chain guide.
Recording Software Options
Recording software captures analog line signals, splits continuous album sides into individual tracks, and removes unwanted pops and surface noise.
| Software Name | Operating System Support | Key Archiving Features | Software Cost | Target User Level |
|---|---|---|---|---|
| Audacity | Windows, macOS, Linux. | Open-source, multi-track recording, basic de-clicking filters. | Free (Open-Source) | Beginners & Enthusiasts |
| VinylStudio | Windows, macOS. | Automated track splitting, automatic Discogs tag lookup, click repair. | $29.95 (One-Time) | Dedicated Vinyl Archivists |
| Adobe Audition | Windows, macOS. | Professional spectral frequency display, advanced restoration tools. | $22.99 / month | Professional Audio Engineers |
| iZotope RX Standard | Windows, macOS. | Industry-leading De-click, De-hum, and De-crackle spectral modules. | $399 (Standalone) | Professional Archival Studios |
Free Options (e.g. Audacity)
Audacity is the most popular free, open-source audio recording software.
- Pros: Completely free with zero subscription fees. Features robust digital recording meters, noise reduction algorithms, and export support for uncompressed WAV and lossless FLAC files.
- Cons: Track splitting and metadata tagging (artist, track title, album, genre, release year) must be performed manually for every song.
Paid Options
Dedicated paid software streamlines the vinyl digitizing workflow:
- VinylStudio ($29.95): Designed specifically for digitizing vinyl. It queries Discogs and MusicBrainz metadata databases automatically, matches track break timestamps, and applies specialized non-destructive click repair filters.
- iZotope RX ($399): The gold standard for audio restoration. Its spectral de-click module removes sharp vinyl pops and surface crackle without dampening high-frequency musical transients.
Basic Digitizing Workflow, Step by Step
Following a disciplined recording process ensures digital files match the dynamic range and warmth of the original analog pressing.
Recording Settings (Sample Rate/Bit Depth)
Configure your audio interface and software to capture full analog dynamics before pressing record:
1. Clean the record thoroughly: Perform a deep wet washing cycle using our recommended methods in our record cleaning and storage guide. Physical dust removal prevents digital crackle and saves hours of manual software cleaning later.
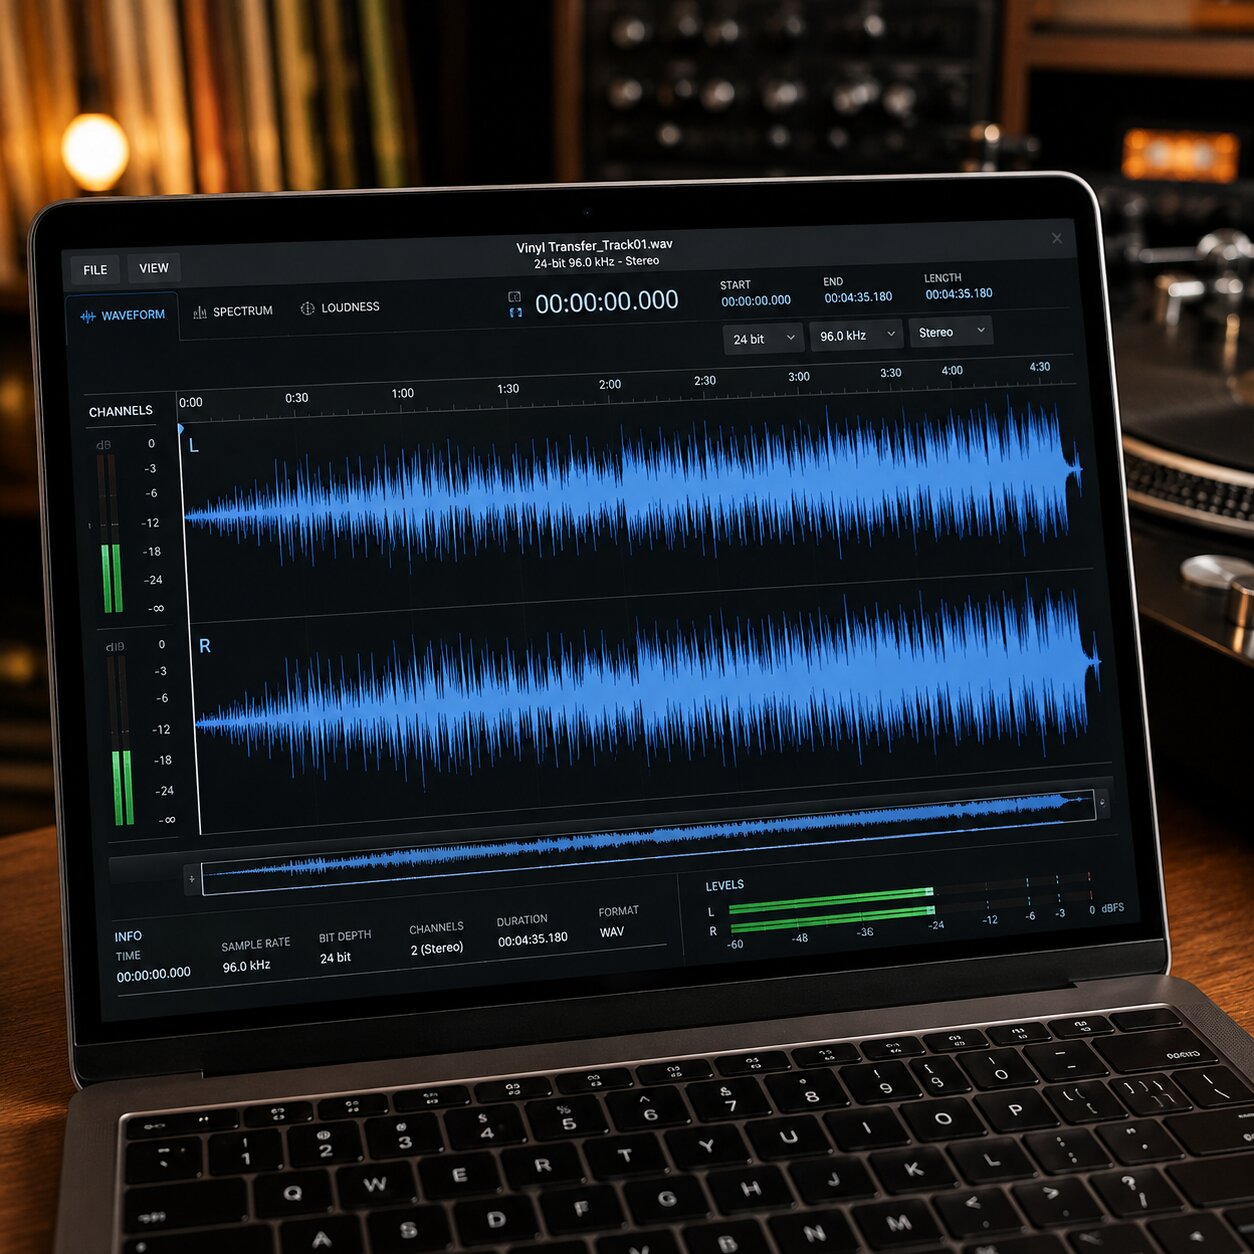
2. Select optimal digital resolution: Set software recording parameters to 24-bit / 96kHz. Recording at 24-bit bit depth provides 144 dB of dynamic range, preventing digital clipping on loud peaks, while a 96kHz sample rate captures extended high-frequency harmonics well beyond human hearing.
3. Set input recording levels (Gain Staging): Play the loudest track on the album side and adjust your audio interface gain trim until peak levels hover between \-6 dB and \-3 dB. Never allow digital recording meters to hit 0 dB, as digital clipping causes irreversible, harsh harmonic distortion.
Cleaning Up Clicks and Pops
1. Record full album sides continuously: Press record in your software, lower the tonearm onto the lead-in groove, and record the entire album side without interruption.
2. Apply non-destructive de-clicking filters: Use software de-clicking plugins set to light or medium sensitivity. Avoid aggressive global noise reduction, as heavy filtering removes high-frequency air and dulls acoustic cymbal attacks.
3. Manually edit prominent pops: Use spectral editing tools to highlight individual transient clicks and repair them manually without altering surrounding musical waveforms.
4. Split tracks and apply smooth fades: Insert track markers at silent gaps between songs. Apply a 1-second fade-in at track starts and a 2-second fade-out at track ends to eliminate background surface hiss abruptly cutting off when switching songs.
5. Embed metadata tags and artwork: Use free tagging tools like Mp3tag or MusicBrainz Picard to embed high-resolution cover art, artist names, album titles, track numbers, and release years into file headers.
6. Export in lossless FLAC format: Export individual tracks as 24-bit / 96kHz FLAC (Free Lossless Audio Codec) files, creating a pristine master digital backup.
For complete tonearm alignment instructions to prevent tracking sibilance during recording, read our turntable setup and calibration guide.
Frequently Asked Questions

Chris Pitcher
Independent vinyl collector helping music lovers discover records worth owning through reviews, recommendations and buying guides.